A leaking bathtub drain can be more than just an annoyance—it can cause water damage, lead to mold growth, and increase your water bills. The good news? You don’t always need a plumber to fix it. With some basic tools and patience, you can repair a leaking bathtub drain yourself.
In this guide, we’ll walk you through identifying, fixing, and preventing bathtub drain leaks. Whether you’re a DIY enthusiast or someone attempting home maintenance for the first time, this step-by-step article will help you do it right.
Signs of a Leaking Bathtub Drain
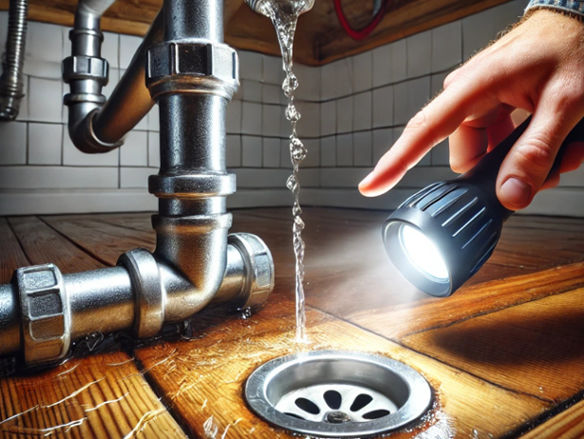
Before you start fixing the issue, you need to confirm that your bathtub drain is indeed leaking. Here are some common signs:
- Stains of water on the ceiling under the bathtub: If your bathroom is situated on a higher level, a leak can result in noticeable stains on the ceiling beneath.
- Unpleasantly damp or musty odors occur due to mold and mildew that grow well in moist conditions, thus a musty smell is usually indicative.
- Fading or peeling paint or wallpaper around the bathtub: Leaked water can destroy walls and floors.
- Water puddles near the bathtub after use: If you observe water accumulating in the vicinity of the bathtub, it may be due to a leaky drain.
A Personal Anecdote: Spotting a Leak the Hard Way
My friend Jake disregarded small water spots on his downstairs ceiling for weeks. He thought it was due to a spill in the bathroom above. During a dinner party one evening, part of his ceiling collapsed, leaving guests stunned—and Jake with a costly repair bill. Had he only looked for leaks sooner?
Common Causes of a Bathtub Drain Leak
Understanding what causes the leak can help you fix it properly. The most common culprits include:
- Worn-out Plumber’s Putty: Over time, the putty sealing the drain flange may dry out and crack.
- Loose Drain Flange: If the drain isn’t tightly secured, water can seep through gaps.
- Faulty Gasket: The rubber gasket under the bathtub can deteriorate, causing leaks.
- Cracked Pipes: If your drain pipes are cracked, water can escape before reaching the main drainage system.
- Improper Installation: A poorly installed drain assembly may not be watertight.
How to Fix a Leaking Bathtub Drain: Step-by-Step Guide
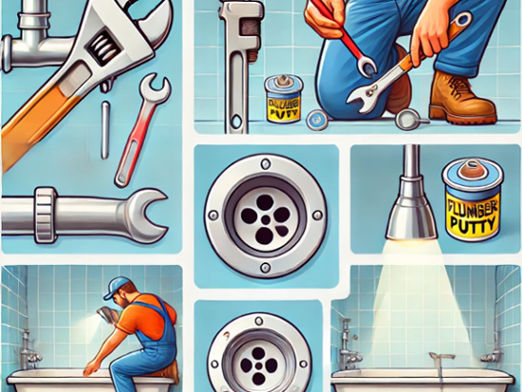
Tools & Materials Needed:
- Tub drain wrench or pliers
- Crescent wrench
- Flathead screwdriver
- Plumber’s putty or silicone sealant
- Teflon tape (optional)
- Replacement gasket (if needed)
- Bucket & sponge
- Wire brush
- Penetrating oil (if the drain is stuck)
- Flashlight (to inspect for hidden damage)
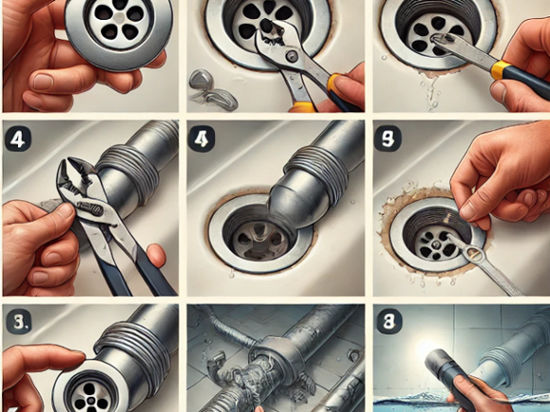
Step 1: Remove the Existing Drain
- Locate the Drain Flange: The drain flange is the visible metal ring in the drain opening. Ensure the tub is dry before starting.
- Loosen the Drain Flange: Use a tub drain wrench or pliers to grip the drain flange. Turn it counterclockwise to loosen. If it’s stuck, apply some penetrating oil and let it sit for 10-15 minutes.
- Remove the Drain: Continue turning the drain flange until it’s fully unscrewed. Place it in a safe spot for later inspection.
- Check for Pipe Corrosion: If the pipe underneath shows signs of rust, it might indicate deeper plumbing issues that need to be addressed before reinstalling the drain.
Step 2: Clean the Drain Opening
- Remove Old Sealant: Use a wire brush to scrub off any debris or hardened plumber’s putty.
- Inspect for Damage: Shine a flashlight into the opening to check for cracks in the pipe or tub surface.
- Wipe the Area Clean: Use a damp sponge to clear away dust and residue, ensuring a smooth surface for the new seal.
Step 3: Inspect & Replace the Gasket
- Locate the Rubber Gasket: The gasket sits beneath the tub and forms a watertight seal.
- Check for Wear and Tear: If the gasket appears brittle, cracked, or loose, replace it with a new one of the same size.
- Apply a New Gasket (If Needed): Fit the new gasket snugly in place before proceeding.
Step 4: Apply a New Seal
- Choose the Right Sealant:
- For metal tubs, use plumber’s putty.
- For fiberglass or plastic tubs, use silicone sealant instead.
- Apply the Sealant: Roll a small amount of the plumber’s putty into a thin rope and apply it under the lip of the drain flange. If using silicone, apply an even bead around the edge.
Step 5: Reinstall the Drain Flange
- Insert the Drain Flange: Place the flange back into the opening, ensuring it sits evenly.
- Tighten the Drain: Using a tub drain wrench, turn the flange clockwise until snug. Avoid overtightening, as this can crack the tub.
- Remove Excess Putty: If using a plumber’s putty, wipe away any excess that squeezes out.
Step 6: Test for Leaks
- Allow the Sealant to Set: If using silicone, let it cure for at least 24 hours.
- Fill the Tub with Water: Run water into the tub and watch for any leaks underneath.
- Check for Drips: Use a flashlight to inspect the pipe joints for any moisture.
Advanced Troubleshooting Tips
- Check Pipe Connections: Ensure that surrounding pipe connections are secure and not loose.
- Inspect the Overflow Drain: If water damage is visible near the overflow, remove the cover and check the gasket.
- Reinforce the Seal: Applying a second layer of silicone around the outer rim of the drain flange can help reinforce the seal.
Preventative Maintenance Tips
- Regular Cleaning: Use non-abrasive cleaners to prevent damage to seals and gaskets.
- Avoid Harsh Chemicals: Refrain from using strong chemical drain cleaners that can corrode pipes and seals.
- Routine Inspections: Periodically check all drain components and seals for signs of wear or damage.
- Address Hard Water Issues: Consider installing a water softener to prevent mineral buildup that can damage plumbing components.
DIY Safety Tips
Before starting your repair, keep these safety guidelines in mind:
- Wear Protective Gear: Use gloves and safety goggles to protect yourself from harmful substances.
- Ensure Adequate Ventilation: Keep the bathroom well-ventilated to avoid inhaling chemical fumes.
- Turn Off Water Supply: If there’s a chance of damaging pipes, shut off the water supply to the bathroom.
Expert Advice for Complex Repairs
If you encounter the following issues, it’s better to consult a plumbing professional:
- Persistent Leaks: If you’ve tried multiple fixes and the leak continues.
- Pipe Damage: Cracks or corrosion that are beyond simple DIY repairs.
- Difficult Access: Limited space to access pipes or connections beneath the bathtub.
When to Call a Professional
If you’ve followed all the steps and the bathtub drain is still leaking, you may have a more serious plumbing issue, such as a cracked pipe or improper installation. In such cases, it’s best to contact a licensed plumber to assess and fix the problem.
1. What are the typical indicators of a leak in a bathtub drain?
Common signs include water stains on the ceiling below the bathtub, damp or musty smells, peeling paint or wallpaper near the bathtub, and puddles of water around the tub after use.
2. Is it possible to repair a leaky bathtub drain without hiring a plumber?
Yes, a great number of bathtub drain leaks can easily be repaired using simple tools and some patience. Following this guide, you will be given extensive step-by-step instructions to ease the repair.
3. How would I know when to replace the gasket?
If the rubber gasket looks brittle, cracked, or loose, it’s an indication that it should be replaced.
4. What kind of sealant do I need to apply to my bathtub drain?
For metal tubs, plumber’s putty should be used. For fiberglass or plastic tubs, silicone sealant is advised.
5. What do I do if the drain flange is stuck?
Use penetrating oil and allow it to sit for 10-15 minutes before you try to loosen the flange with a drain wrench or pliers.
6. How long will it take silicone sealant to dry?
Silicone sealant will generally take 24 hours to complete curing. Try not to use the bathtub for that period.
7. What happens if the leak continues after repair?
Test pipe connections, check the overflow drain, and reinforce the seal with extra silicone. If the problem continues, you should call a professional plumber.
8. What can I do to avoid future bathtub drain leaks?
Regular maintenance, refraining from using strong chemicals, regular inspections, and resolving hard water problems can prevent future leaks.
Final Thoughts
Repairing a leaky bathtub drain is a simple DIY task, costing you less money and avoiding further damage. With this step-by-step guide, you can tackle the repair with confidence and maintain your bathroom in top condition.
Got a handy plumbing trick or encountered a persistent drain leak? Post your ideas below!
Keep in mind, that proactive maintenance and prompt repairs will keep your plumbing system in perfect shape and your house protected against water damage.